Head Sock - free pattern

I’m pretty sure I don’t need explain how handy it is to have a pattern for a basic ribbed hat. You can make it as sassy or reserved as you want with your choice of yarn and the stretch means that you won’t finish and then find out it won’t fit.

IMG_0671.JPG

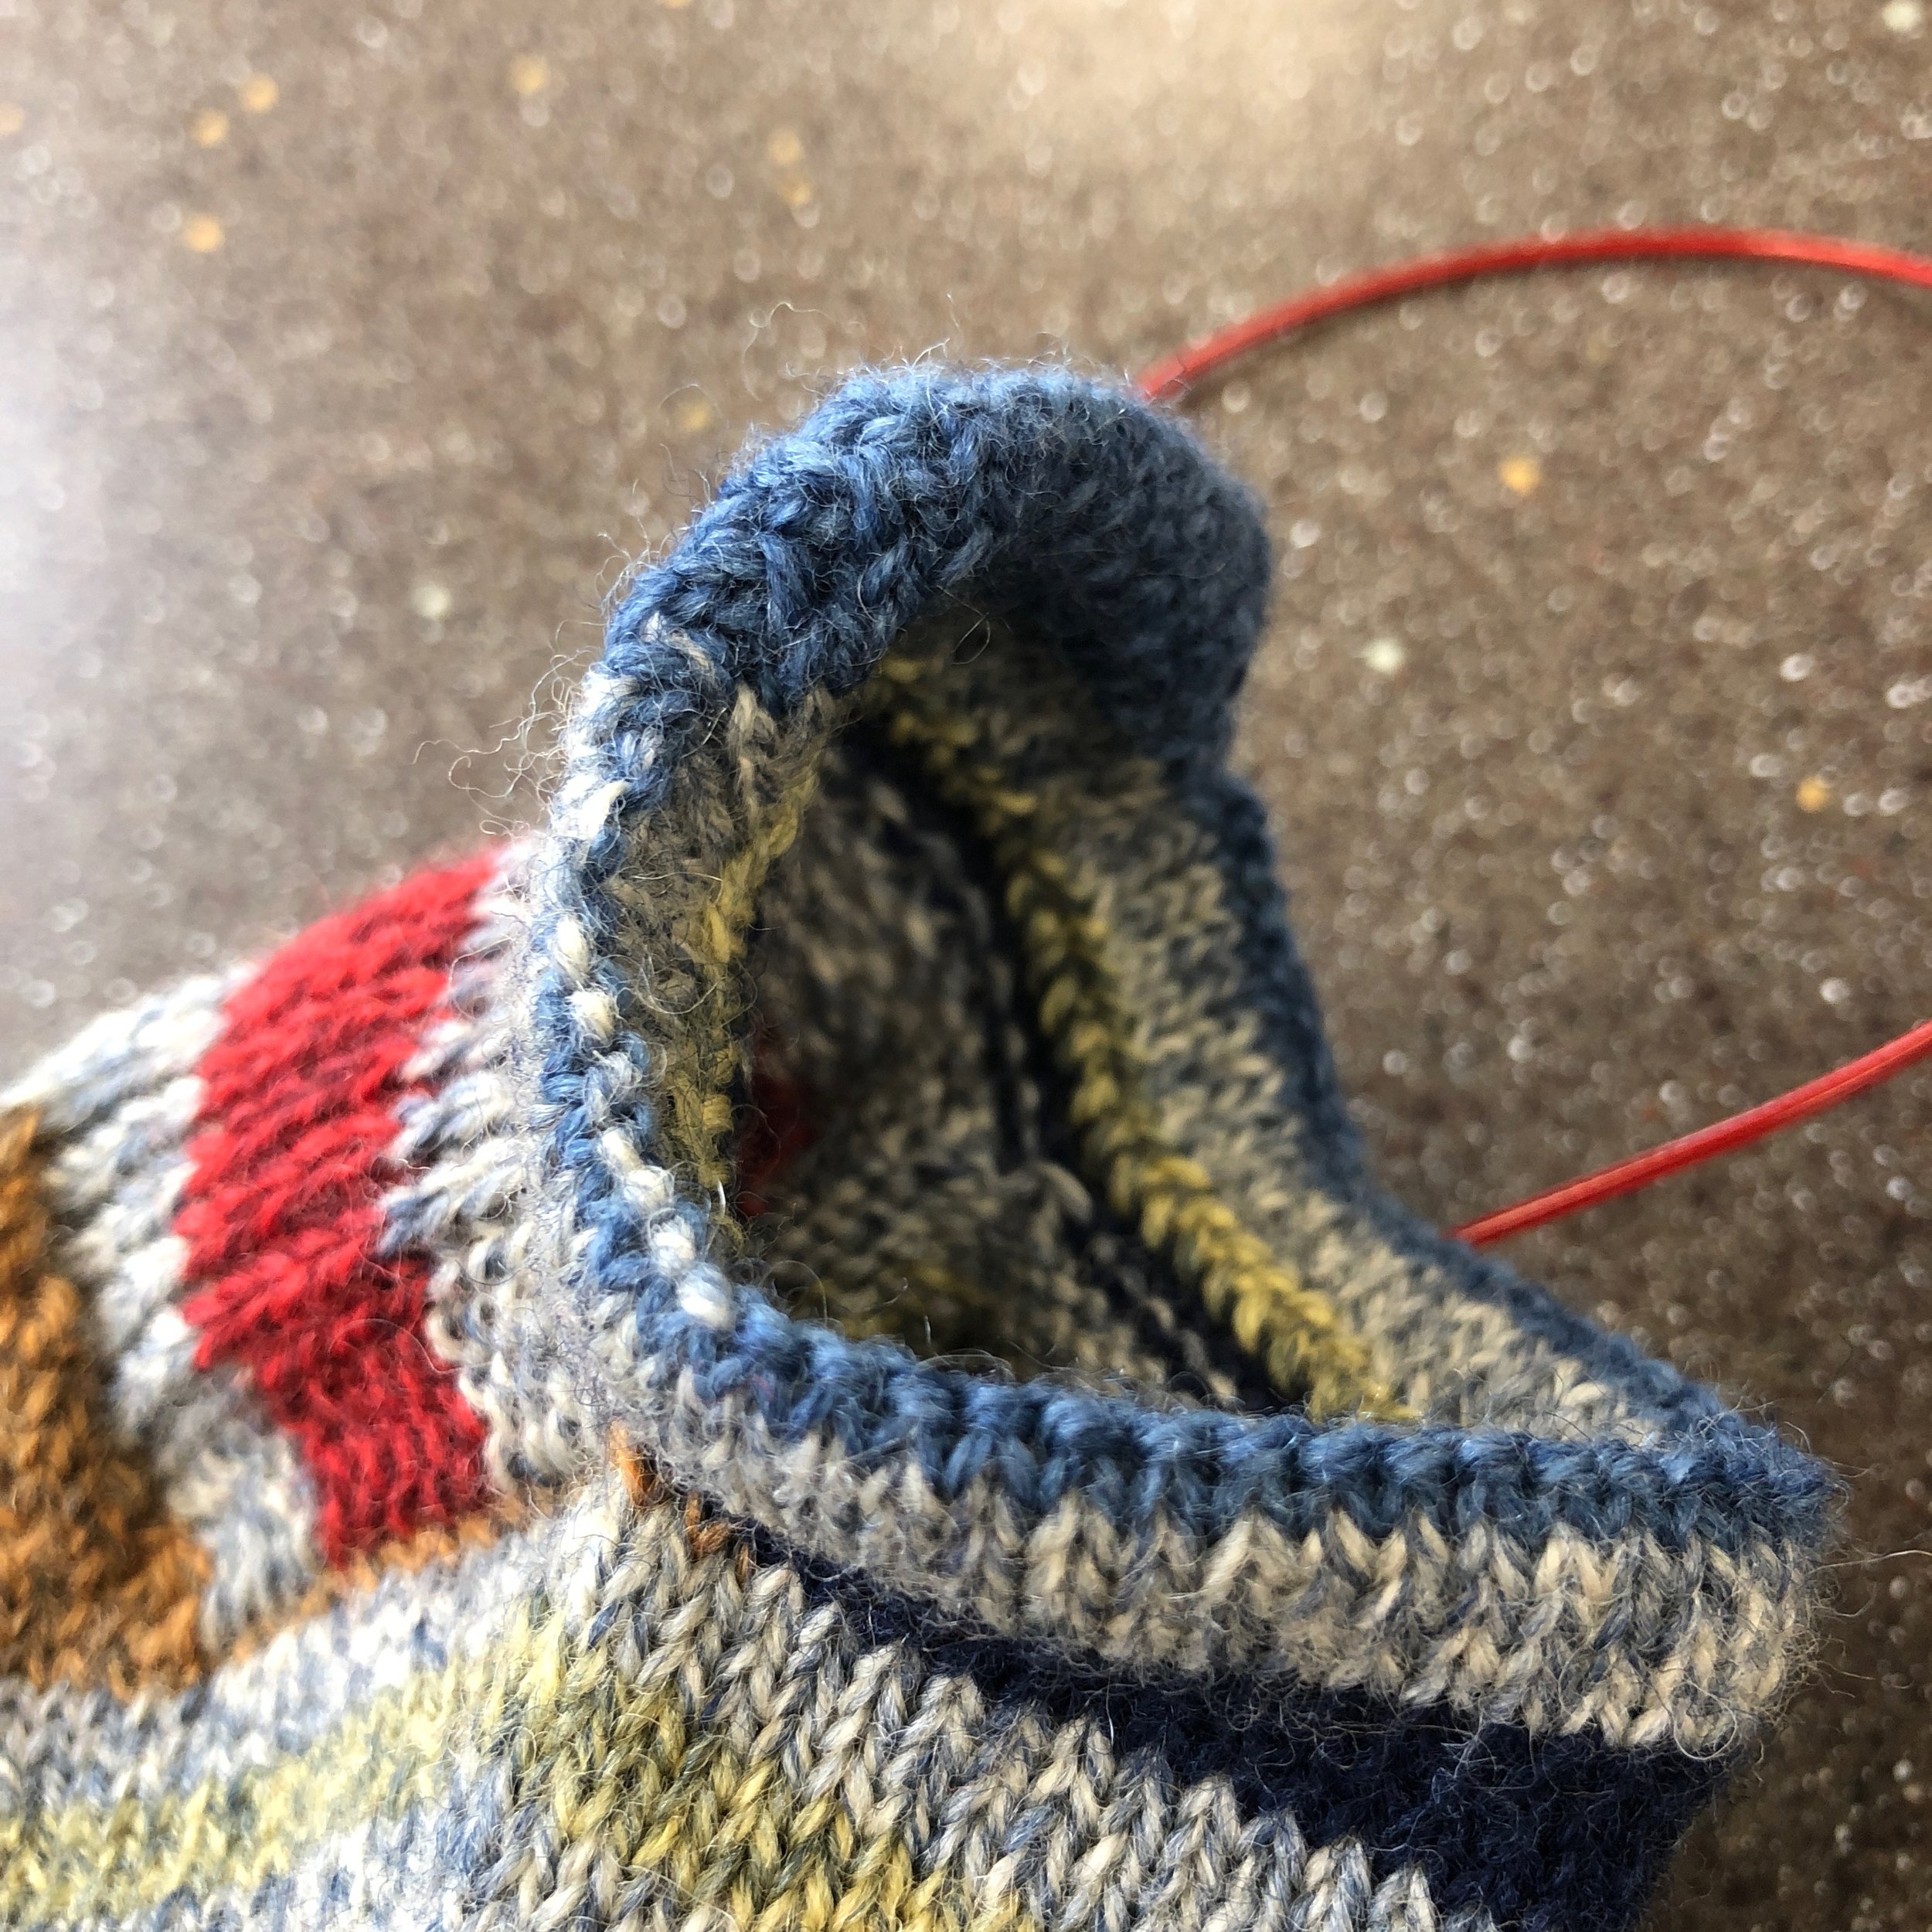
My problem is always the decreases. They never look as tidy as I want! (Between you and me, my ssk’s are always wonky, no matter what I do to make them pretty…)

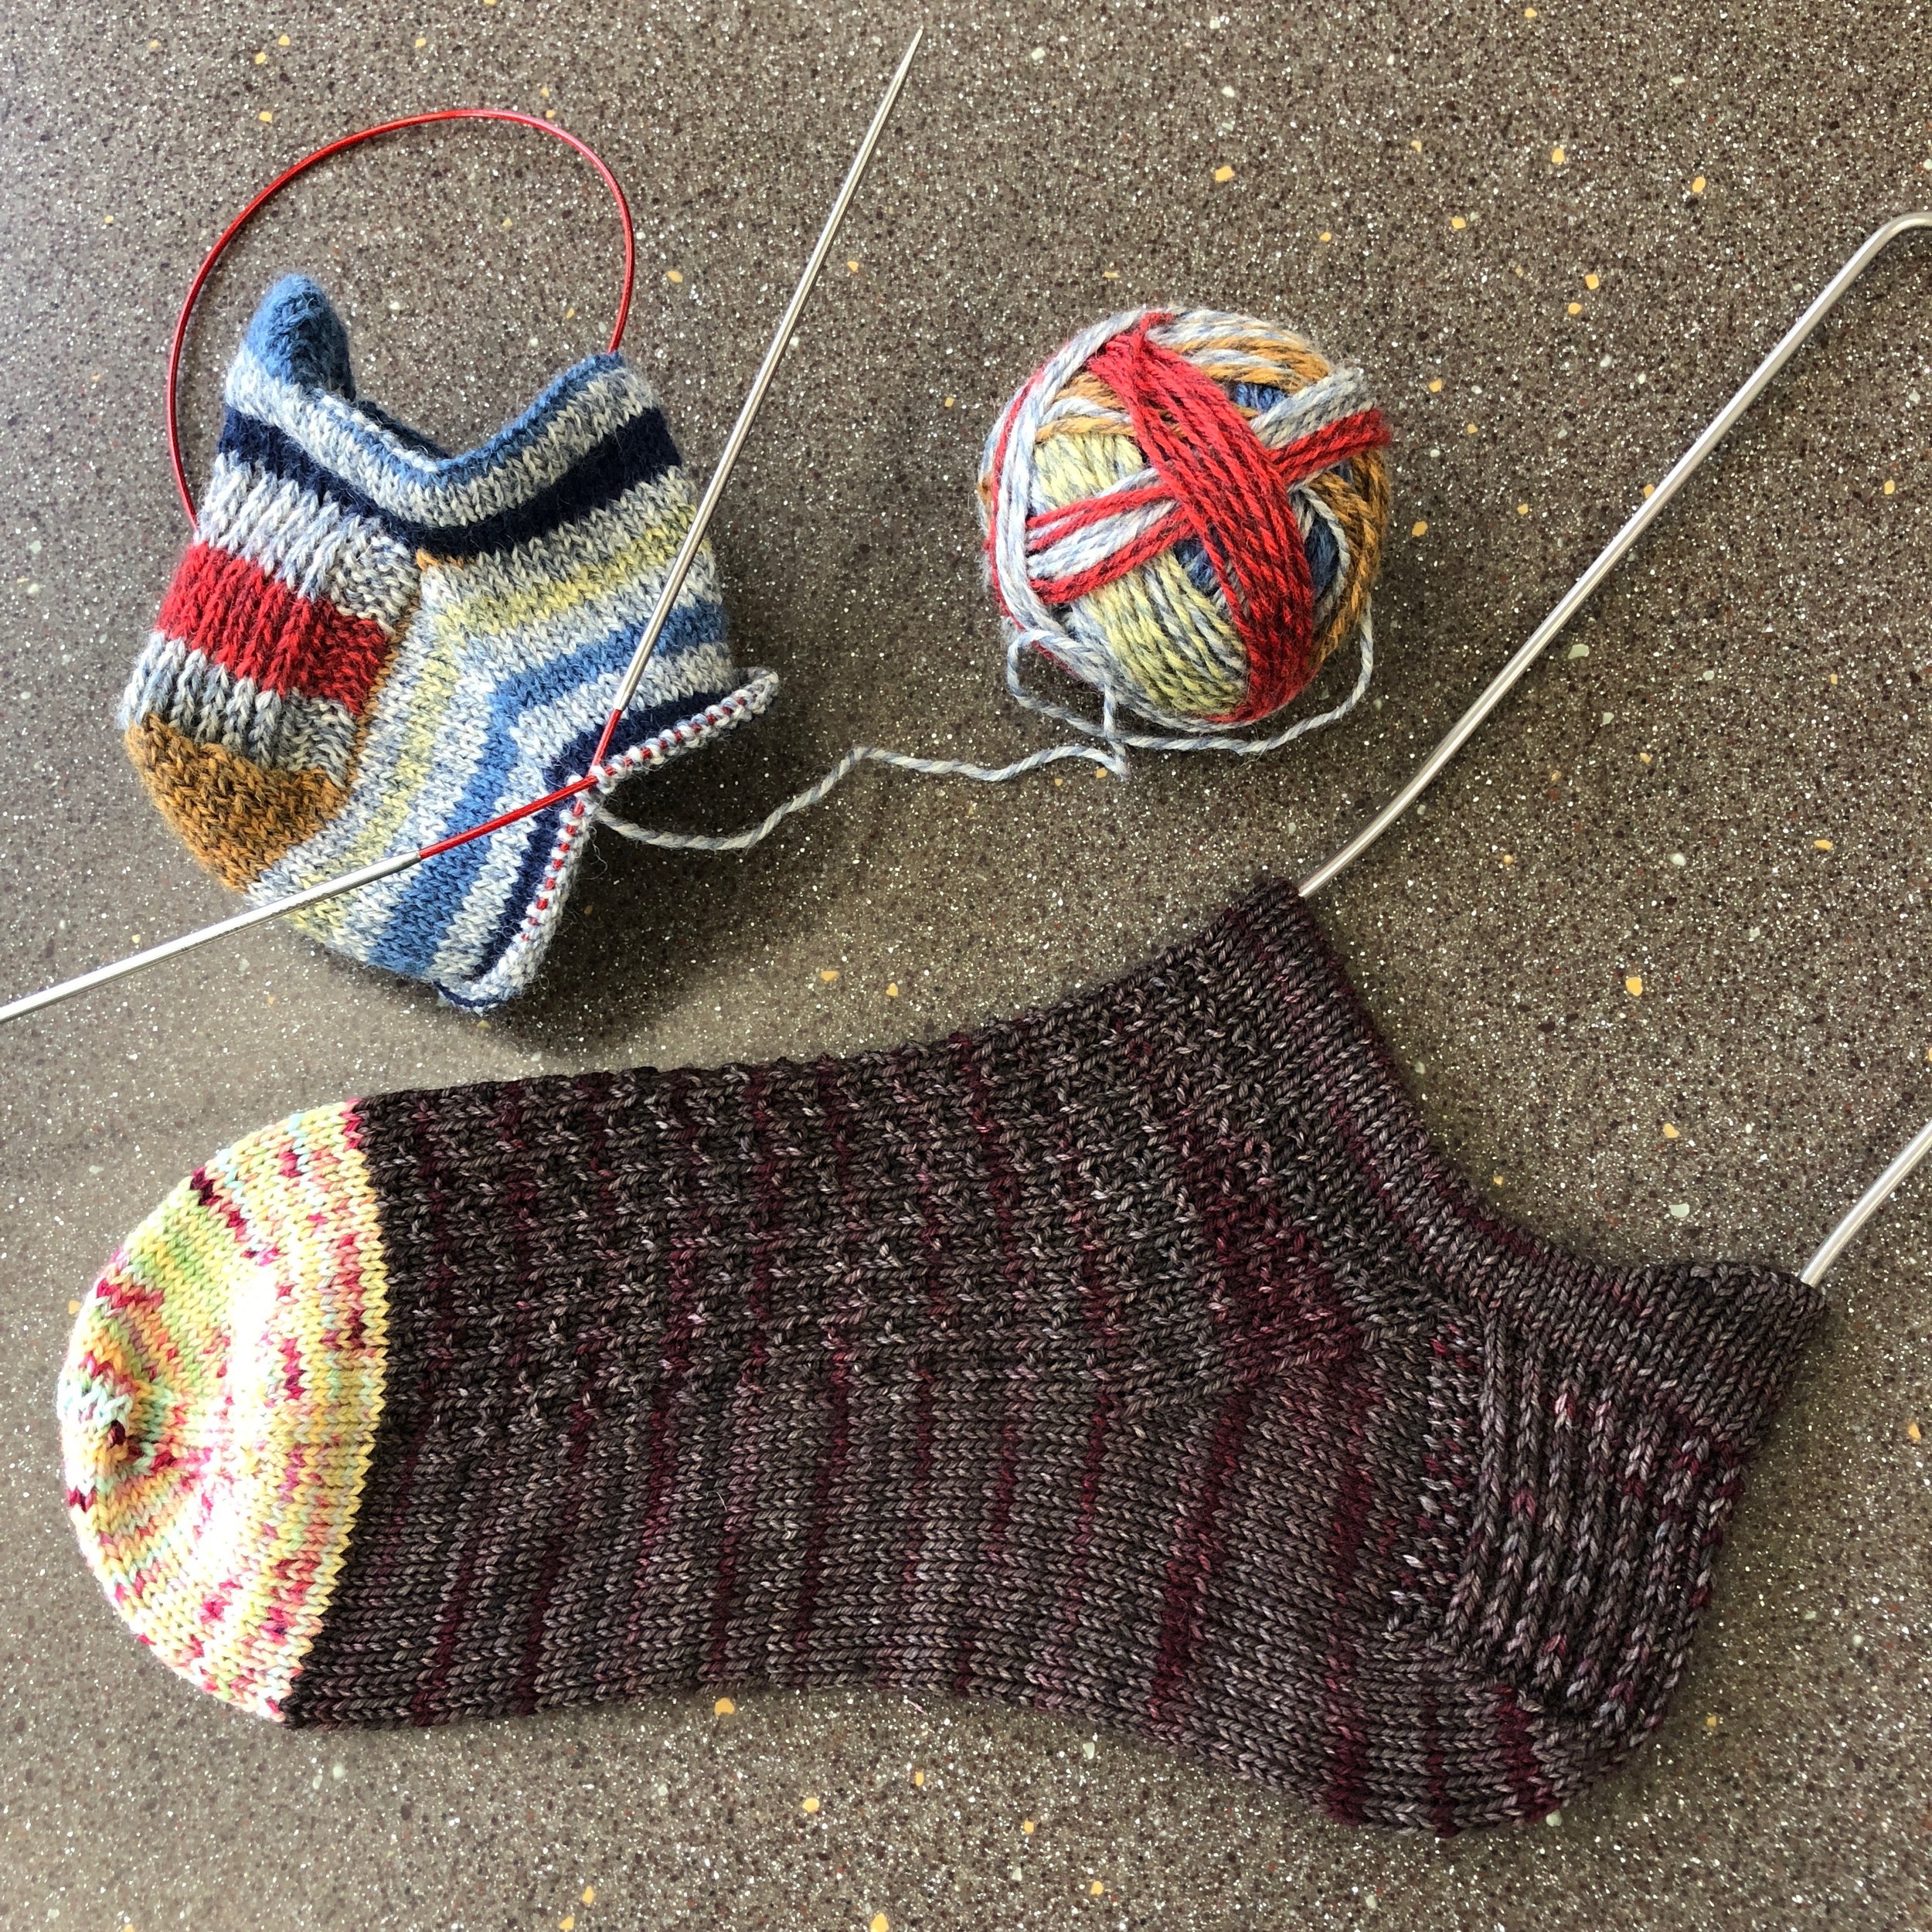
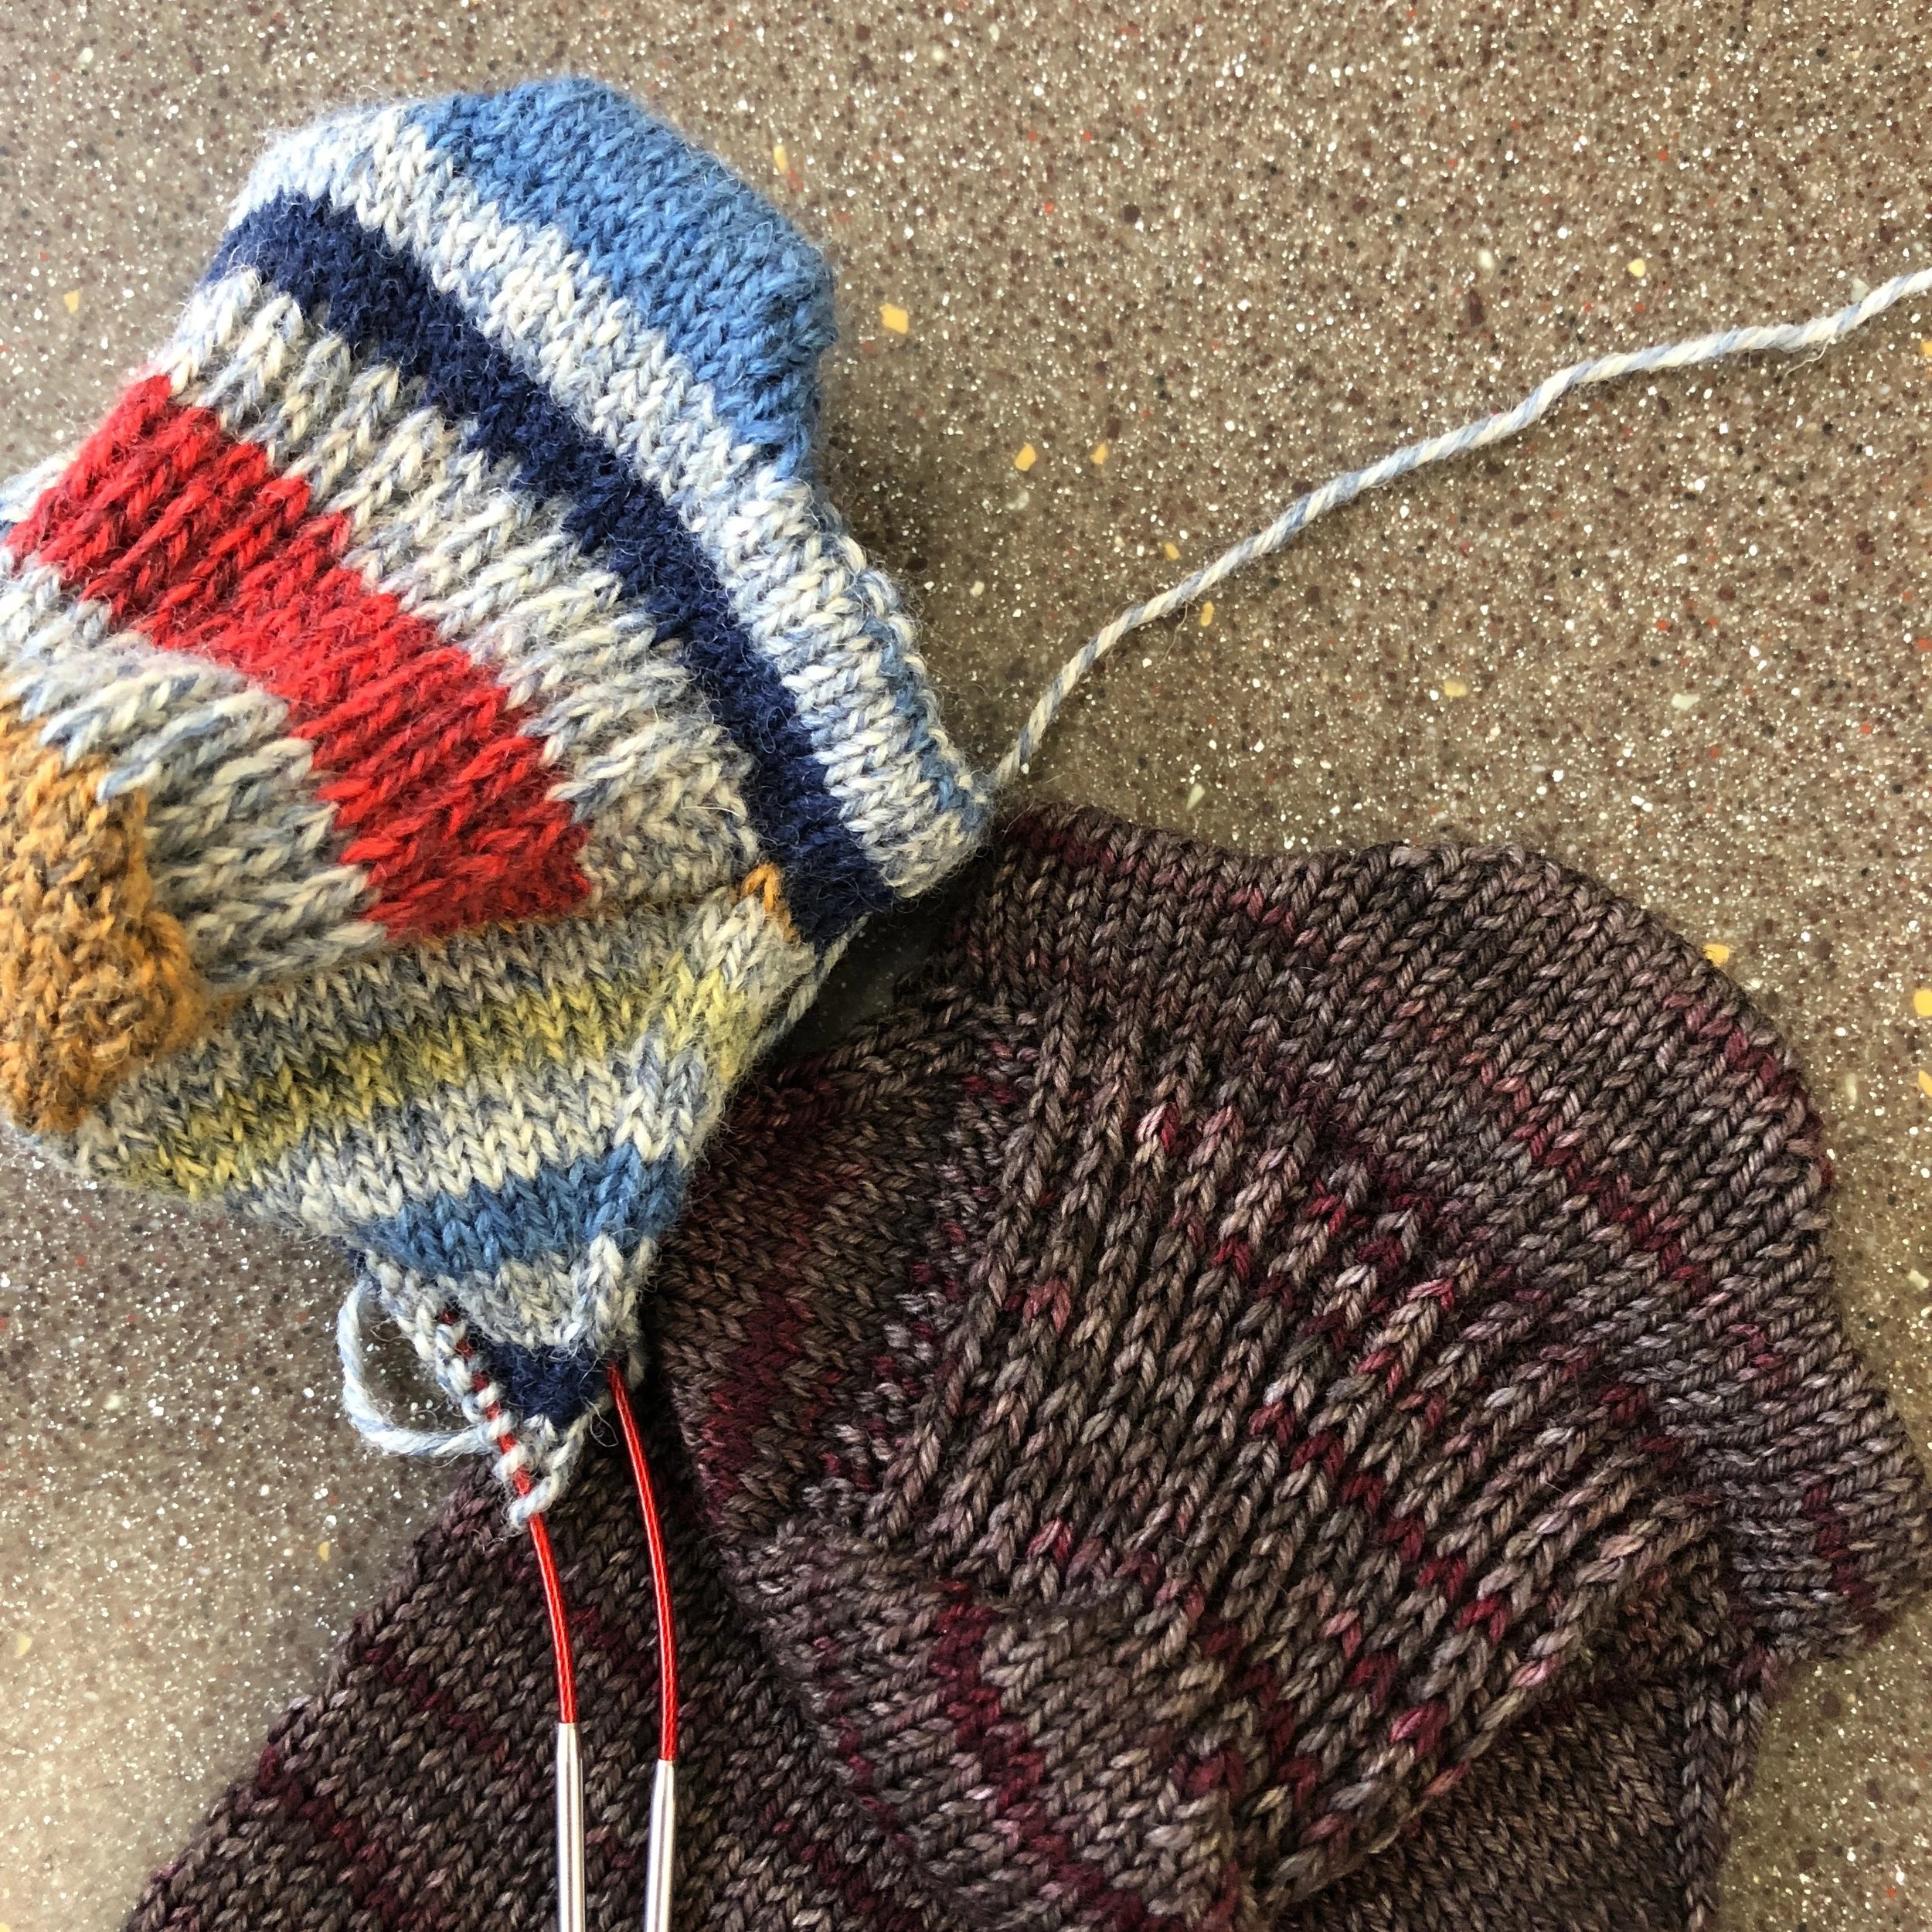
In this hat, I think I have found the solution. You don’t need to learn any fancy stitches, since the decreases are still done with k2tog’s and ssk’s but the final product is flipped inside out and you hide any wonkyness away.

Click here to download a pdf of the pattern.

IMG_0666.JPG

While this pattern is written for fingering weight yarn, you can easily adapt for other gauges:

  • Cast on must be a multiple of 16, so you could try 128 stitches with sport, 112 with DK, 96 with worsted, or 80 with bulky (since it's ribbed, shoot for a little too big rather than a little too small)

  • Setup row then becomes: [P1, work in established rib for (total stitch count)/4 - 2 stitches, P1, pm] three times then continue in established pattern to BOR marker - will have four markers total with (total stitch count)/4 stitches between them

Sock Mod - heel tab for short socks!

Short socks are the bane of my existence because they always fall down into my shoes. A lot of commercially-made socks prevent this with grippy silicone strips on the inside but that doesn’t help when it comes to knitting your own socks. So, I have been on a quest to figure out how to knit no-show socks that don’t fall down after a few steps and I think this is the answer!

This “pattern” is only for the cuff and heel tab of the sock and is meant to be used with a flap and gusset heel. You can pair it with your favorite vanilla pattern or even with a patterned sock - just start the patterning after you pick up the gusset stitches for the heel. (Don’t have a favorite vanilla pattern? Try mine - it’s free!)


Abbreviations:
w&t = wrap and turn. This is being used a general term - feel free to substitute however you prefer to do short rows. I actually use the twin knit and purl stitches that are used in the fish lips kiss (FLK) heel. Whenever you come to a “wrapped” stitch, resolve it in the way that is appropriate for your chosen short row method.

Cast on (56, 64, 72) stitches. If you can, leave 18-24” (0.5 m) extra tail for sewing the hem later on. Note - these instructions are written for magic loop, so “front needle” = the half of the sock that will be the top of the foot and “back needle” = the heel and sole side of the sock.

Join to work in the round and knit (3, 3, 4) rows plain. Knit across the front needle.

Heel tab:
Row 1 (RS): knit (21, 23, 25) stitches, w&t - (6, 8, 10) stitches unworked
Row 2 (WS): purl 14 stitches, w&t - (6, 8, 10) stitches unworked
Row 3 (RS): knit 13 stitches, w&t
Row 4 (WS): purl 12 stitches, w&t
Row 5 (RS): knit 11 stitches, w&t
Row 6 (WS): purl 10 stitches, w&t

Yo-yo row (RS): knit to end of back needle, properly resolving wraps as you come to them. Knit across front needle and (6, 8, 10) stitches on back needle.

- or -

If you are familiar with the FLK heel pattern, you can work the boomerang rows described in that pattern except you will not work all the way to the end of the needle but just to the first stitch past the wrapped stitches on each side.

Using either method, you now have the RS facing you with (6, 8, 10) stitches on the right needle.

Row 7 (RS): knit 13 stitches, w&t
Row 8 (WS): purl 10 stitches, w&t
Row 9 (RS): knit 11 stitches, w&t
Row 10 (WS): purl 12 stitches, w&t
Row 11 (RS): knit 13 stitches, w&t
Row 12 (WS): purl 14 stitches, w&t

Knit to end of back needle. Knit (8, 8, 10) more rows plain then begin heel instructions.

You might want to try knitting the foot of your sock a half centimeter (2-3 rows) shorter than normal to ensure a snug fit - this is also key to keeping short socks in place.

After finishing the sock, fold over the cast-on edge to flatten the heel tab and sew the hem along the inside. Here’s a great tutorial if it’s your first time. I really suggest sewing the hem rather than picking up along the edge and knitting together as you go - the seam you get will be much less bulky and more stretchy. If you want to be able to wear the sock as soon as it is finished, just sew the hem after finishing your gusset decreases (this is what I do).

Exceedingly Vanilla Socks - Free Pattern

After knitting what seems like a gazillion pairs of socks since the start of 2016, I have distilled my basic recipe into this pattern.  Use it to knit your first (or tenth or hundredth) pair of vanilla socks, or do as I do and use as a base for combining with other patterns.

Click here to download a PDF of the pattern for standard sock stitch counts (56, 64, and 72)

Click here to download a PDF of the pattern that will work for any stitch count you like (Note, this version is meant for someone who has already knit a sock before and doesn't need exact numbers for each step but instead a general recipe for in-between sizes.)

Or, click here to get a super duper condensed version of the standard stitch count pattern that will fit on one piece of paper if printed double-sided.

The pattern has been test-knit, but if you find any mistakes please let me know.

Some tutorials that might be helpful for beginners:

Super Simple Sock Shawl - free pattern

Here we go!  The pattern, as promised, for my super easy triangular shawl that uses one skein of sock yarn.

Click here to download a PDF of the pattern.

At the time I am writing this, only I have test knit this pattern, so if you notice any mistakes, please let me know so that I can fix them.  And if you are on Ravelry, please post pictures of any FO's so that I can see them!

And now for some glamour shots: