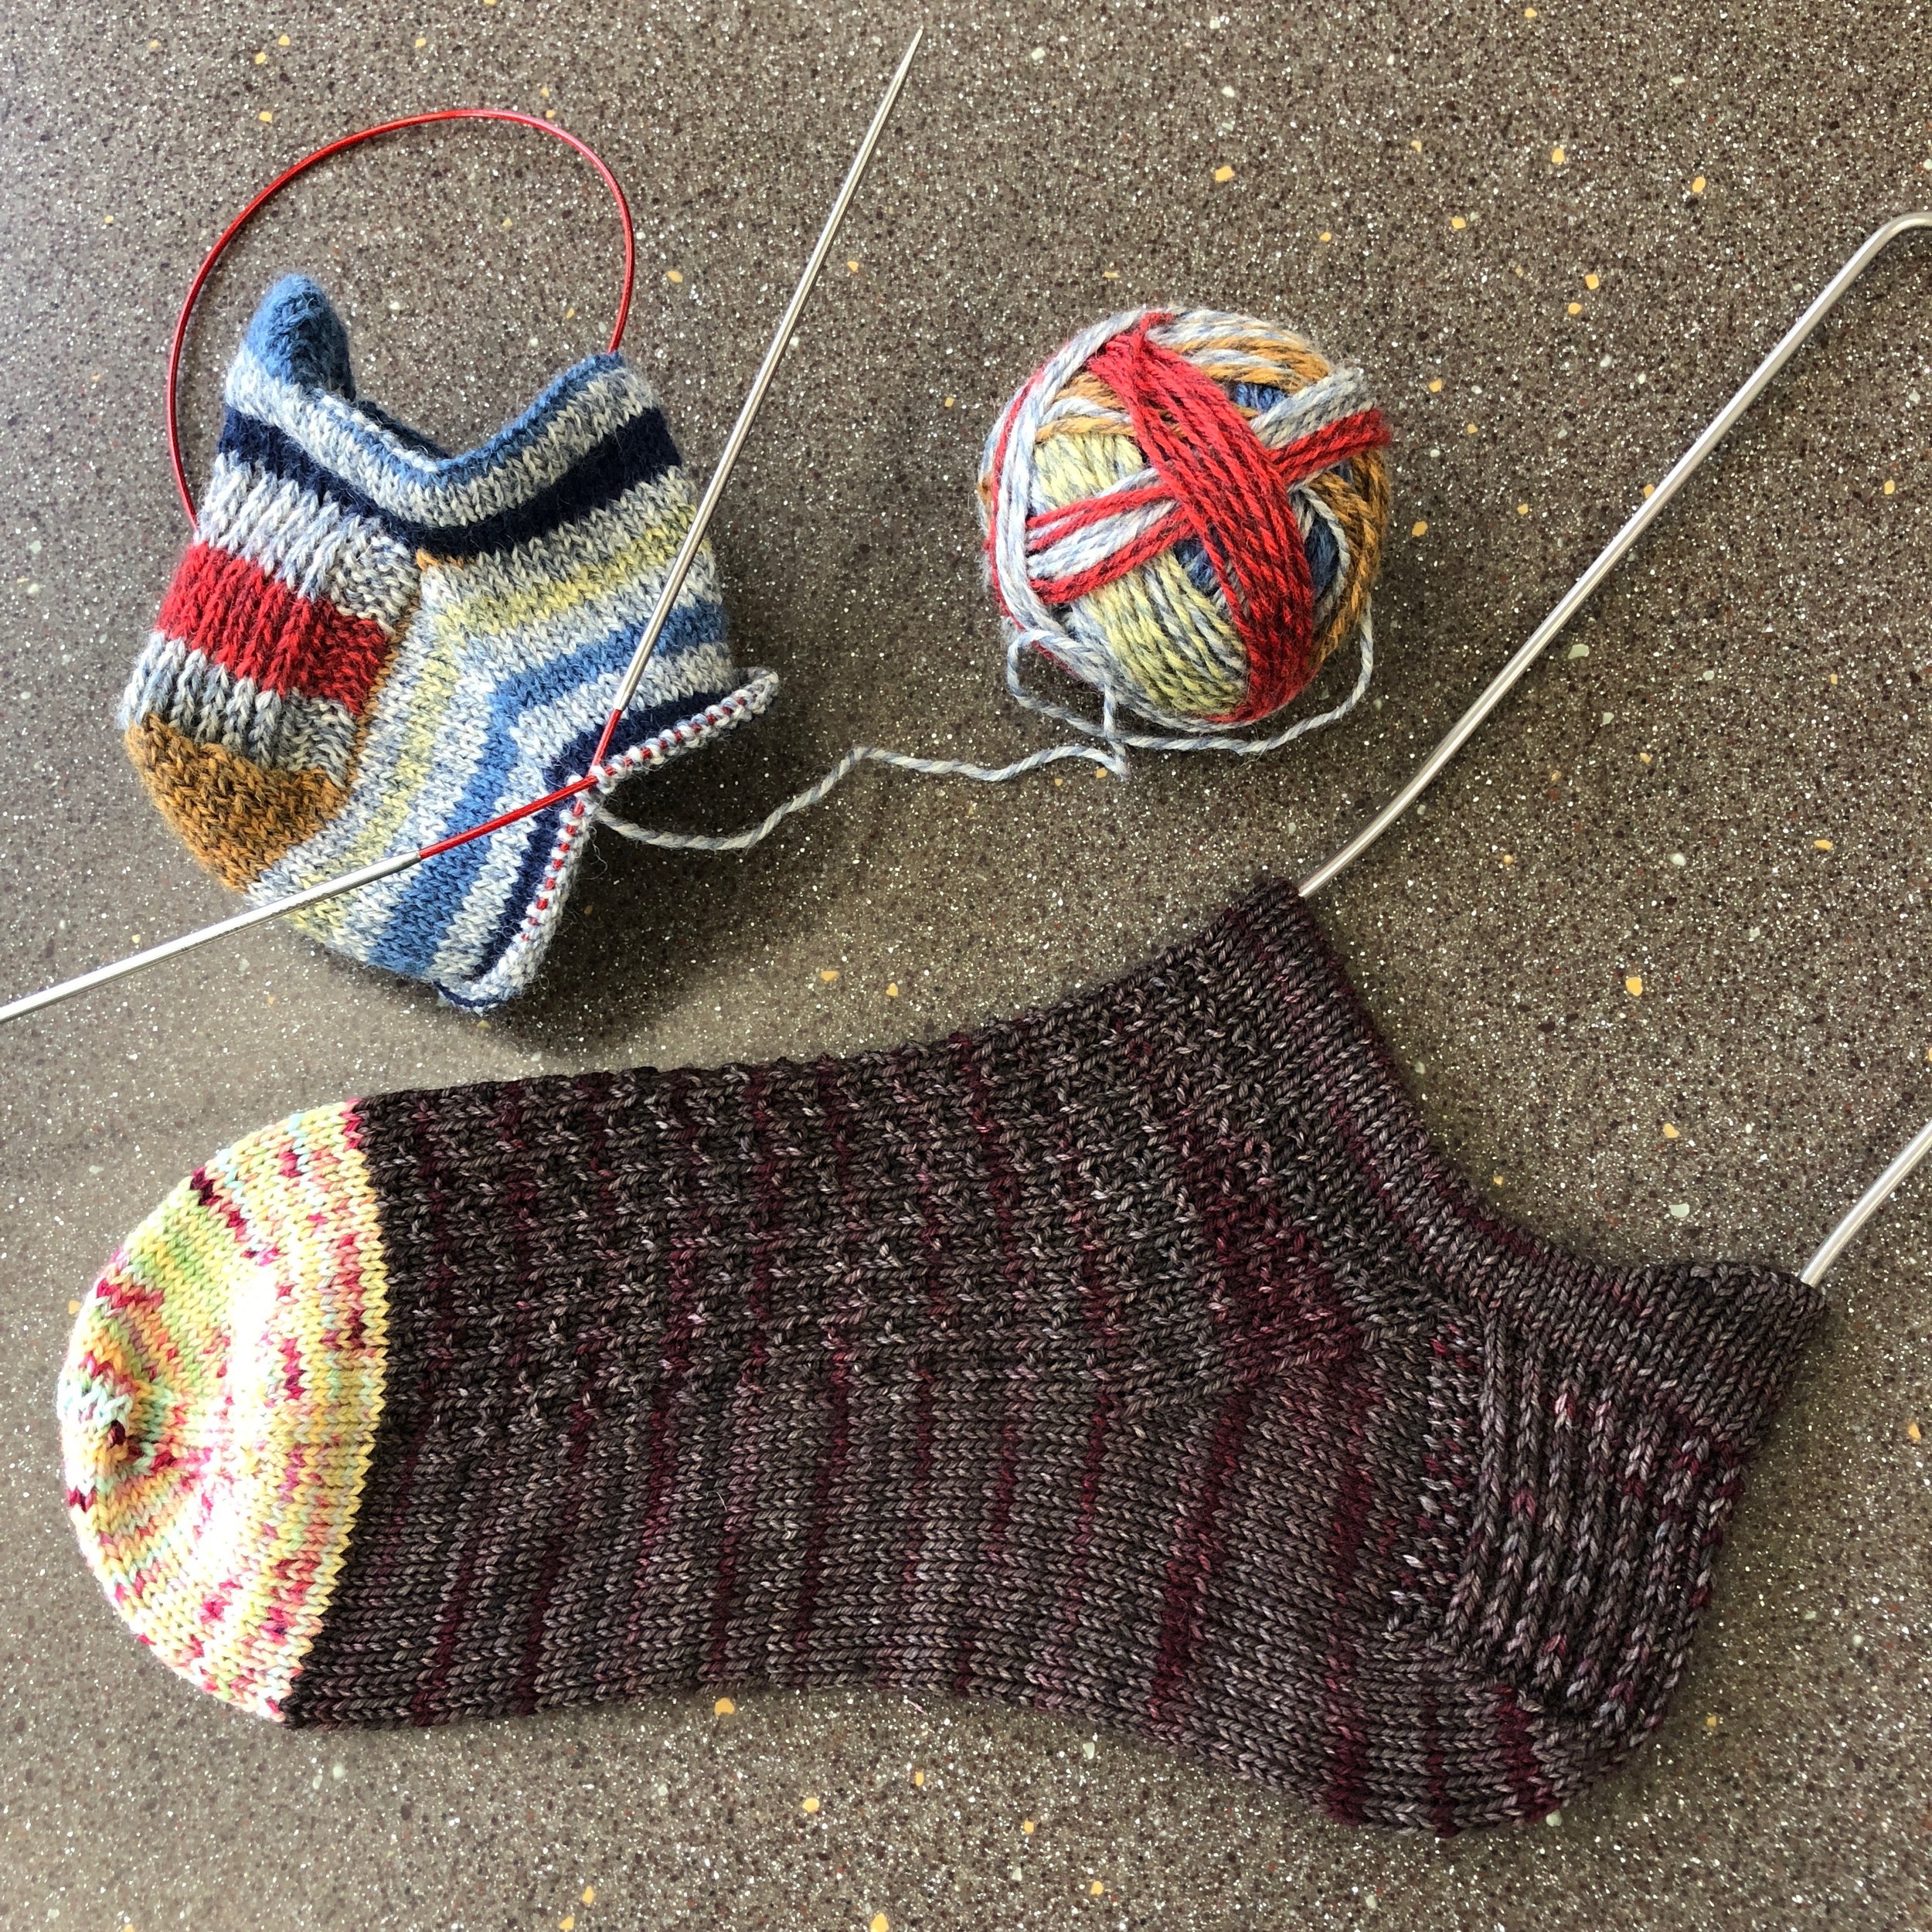
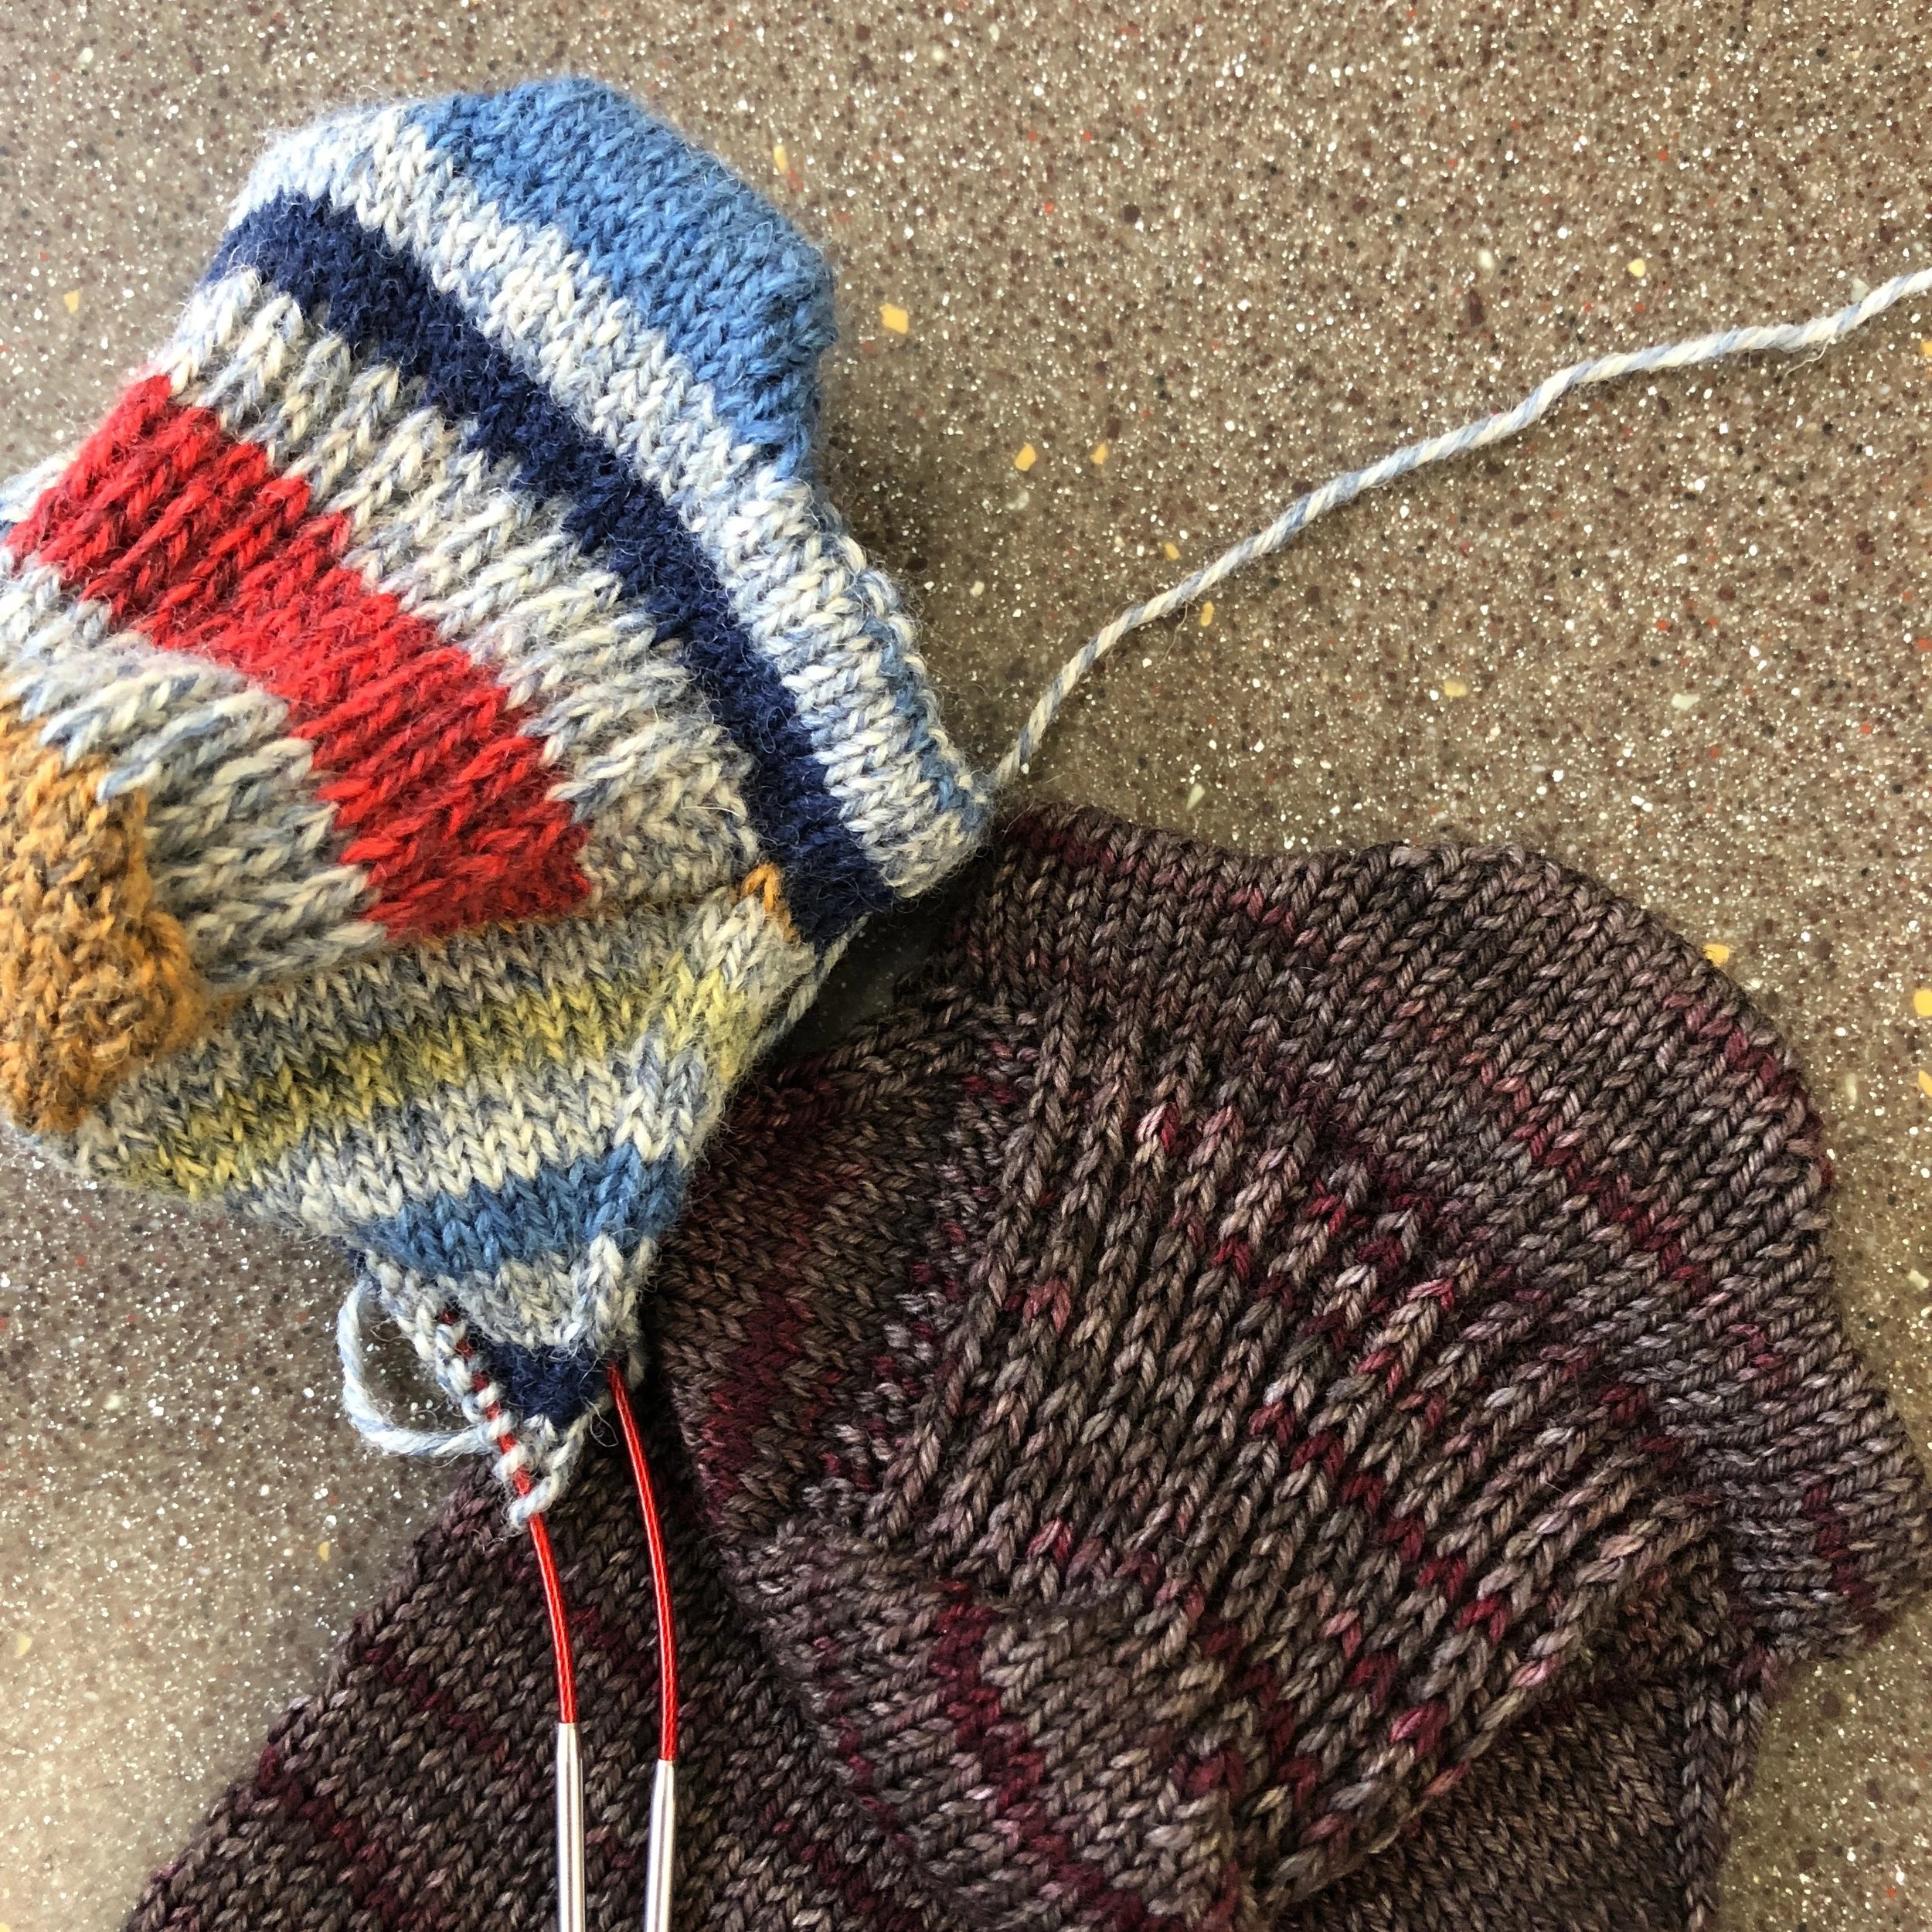
Short socks are the bane of my existence because they always fall down into my shoes. A lot of commercially-made socks prevent this with grippy silicone strips on the inside but that doesn’t help when it comes to knitting your own socks. So, I have been on a quest to figure out how to knit no-show socks that don’t fall down after a few steps and I think this is the answer!
This “pattern” is only for the cuff and heel tab of the sock and is meant to be used with a flap and gusset heel. You can pair it with your favorite vanilla pattern or even with a patterned sock - just start the patterning after you pick up the gusset stitches for the heel. (Don’t have a favorite vanilla pattern? Try mine - it’s free!)
Abbreviations:
w&t = wrap and turn. This is being used a general term - feel free to substitute however you prefer to do short rows. I actually use the twin knit and purl stitches that are used in the fish lips kiss (FLK) heel. Whenever you come to a “wrapped” stitch, resolve it in the way that is appropriate for your chosen short row method.
Cast on (56, 64, 72) stitches. If you can, leave 18-24” (0.5 m) extra tail for sewing the hem later on. Note - these instructions are written for magic loop, so “front needle” = the half of the sock that will be the top of the foot and “back needle” = the heel and sole side of the sock.
Join to work in the round and knit (3, 3, 4) rows plain. Knit across the front needle.
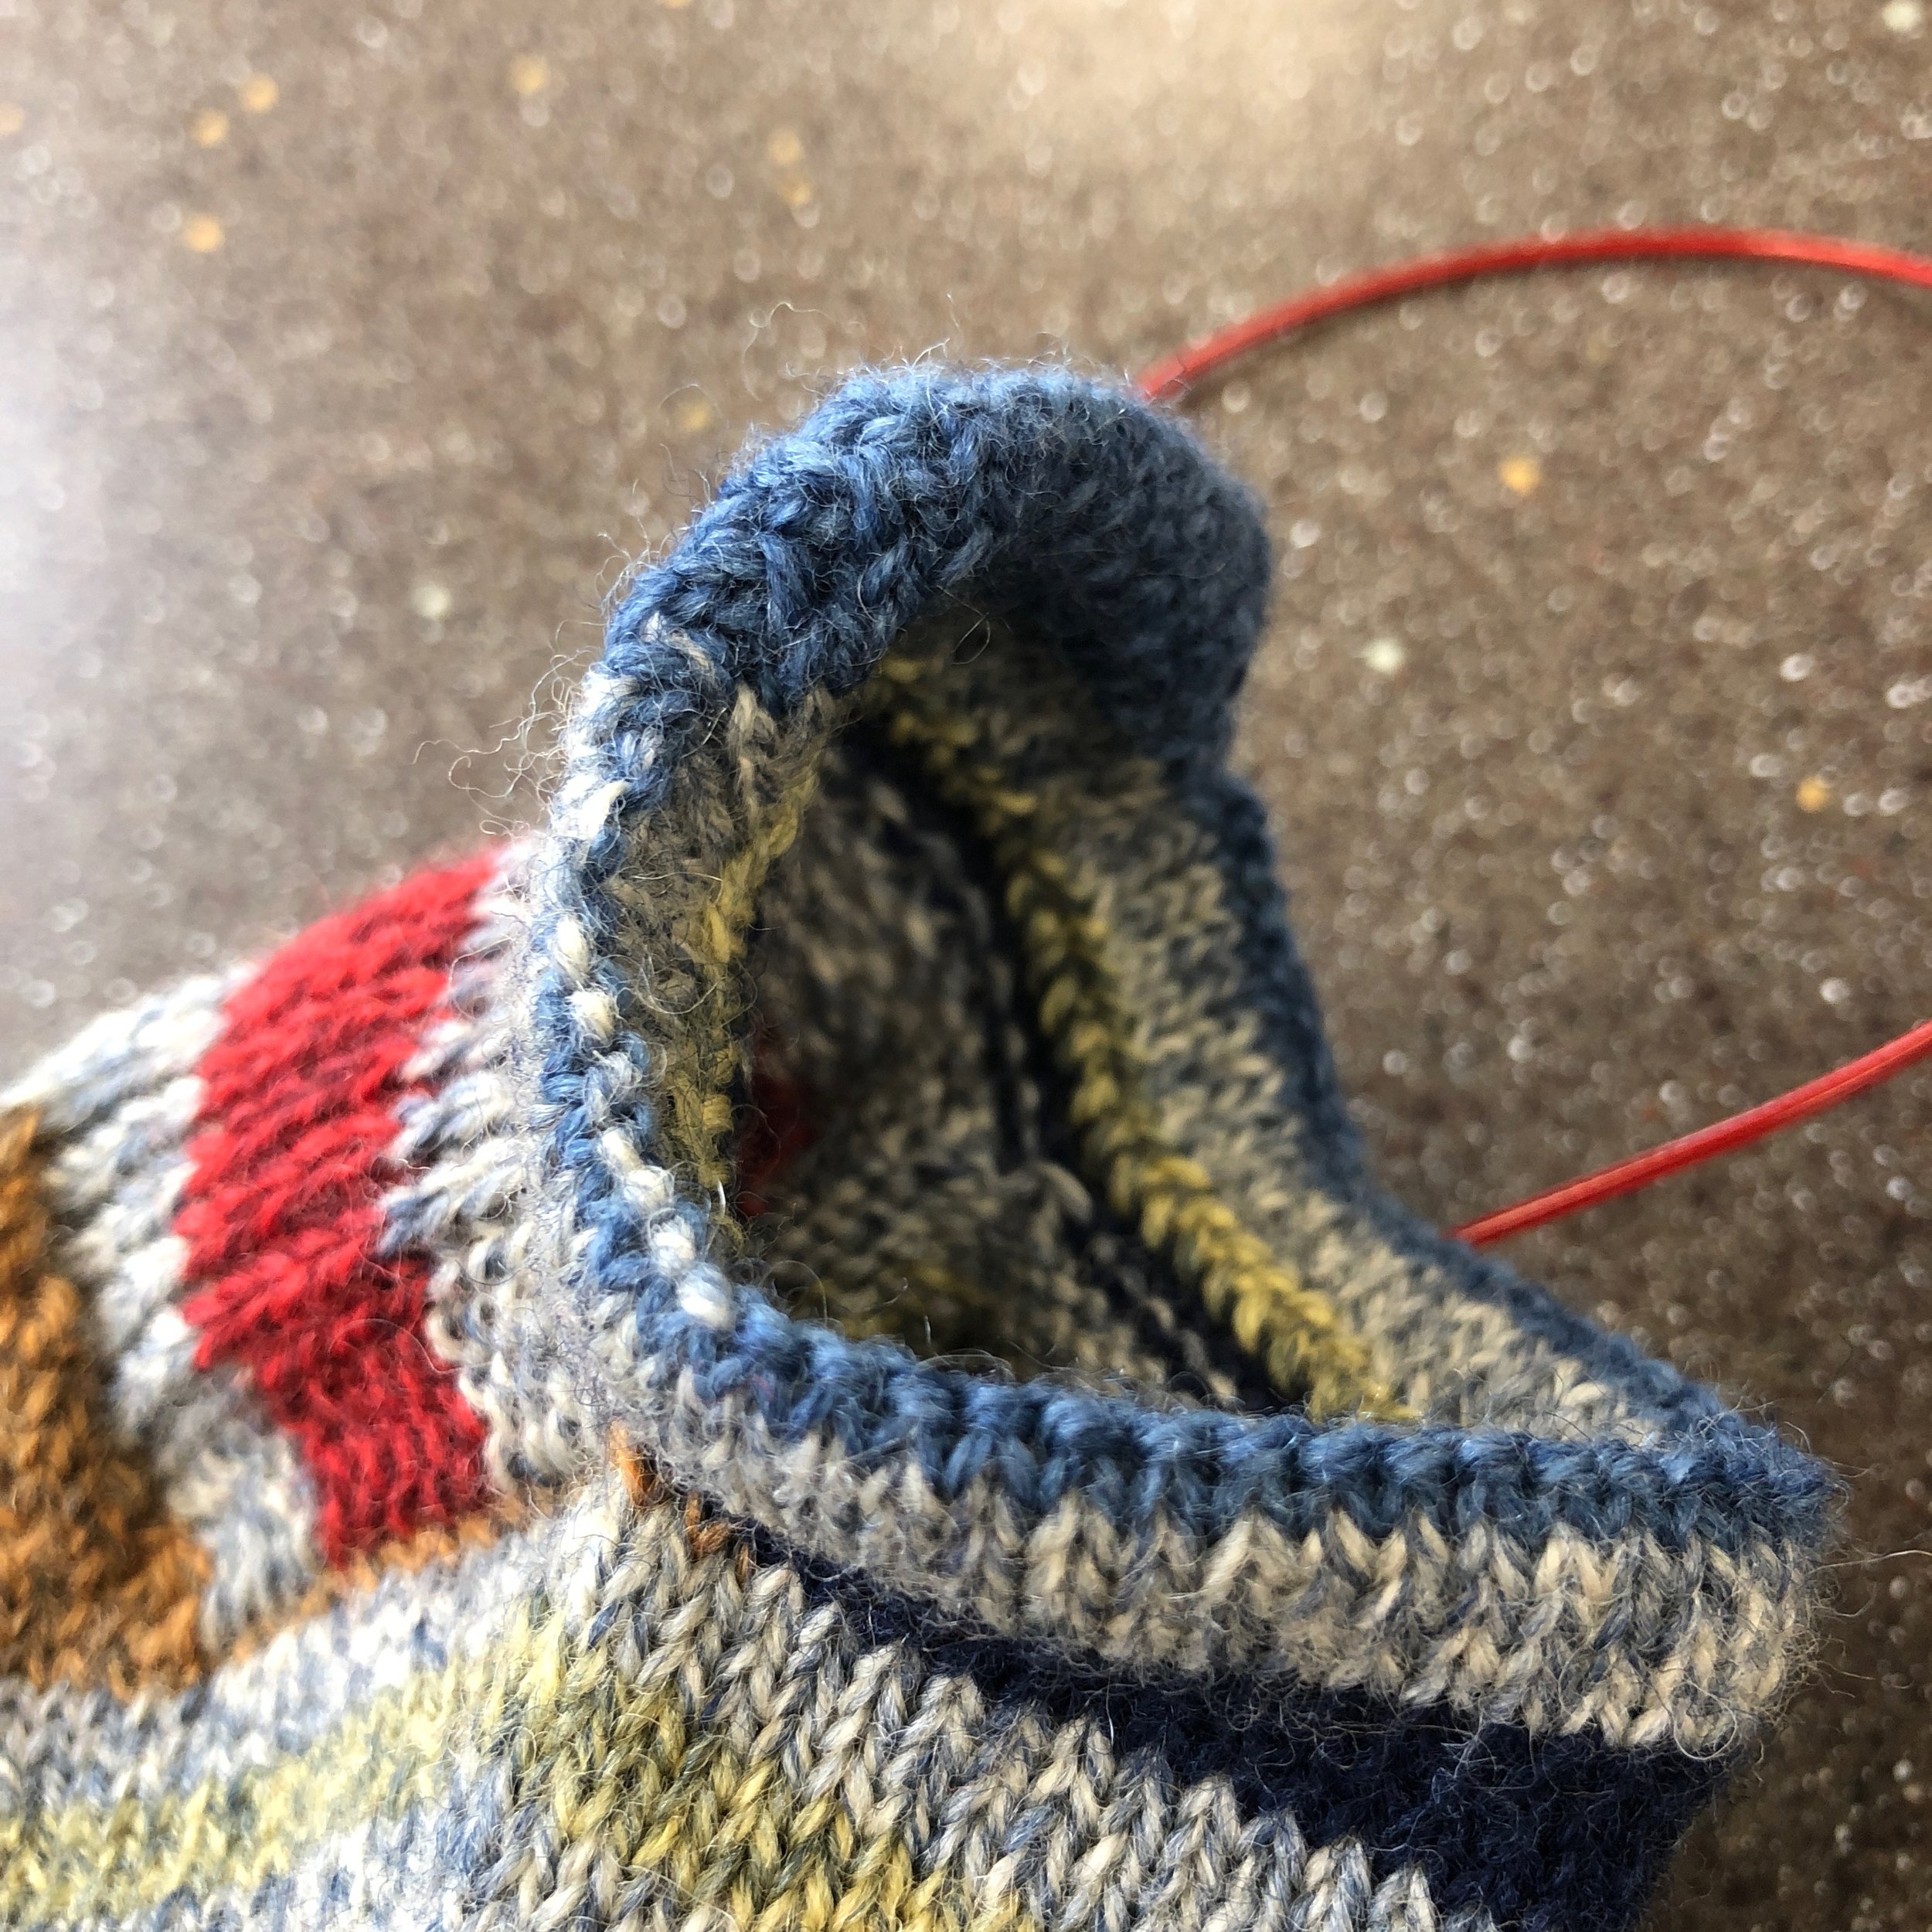
Heel tab:
Row 1 (RS): knit (21, 23, 25) stitches, w&t - (6, 8, 10) stitches unworked
Row 2 (WS): purl 14 stitches, w&t - (6, 8, 10) stitches unworked
Row 3 (RS): knit 13 stitches, w&t
Row 4 (WS): purl 12 stitches, w&t
Row 5 (RS): knit 11 stitches, w&t
Row 6 (WS): purl 10 stitches, w&t
Yo-yo row (RS): knit to end of back needle, properly resolving wraps as you come to them. Knit across front needle and (6, 8, 10) stitches on back needle.
- or -
If you are familiar with the FLK heel pattern, you can work the boomerang rows described in that pattern except you will not work all the way to the end of the needle but just to the first stitch past the wrapped stitches on each side.
Using either method, you now have the RS facing you with (6, 8, 10) stitches on the right needle.
Row 7 (RS): knit 13 stitches, w&t
Row 8 (WS): purl 10 stitches, w&t
Row 9 (RS): knit 11 stitches, w&t
Row 10 (WS): purl 12 stitches, w&t
Row 11 (RS): knit 13 stitches, w&t
Row 12 (WS): purl 14 stitches, w&t
Knit to end of back needle. Knit (8, 8, 10) more rows plain then begin heel instructions.
You might want to try knitting the foot of your sock a half centimeter (2-3 rows) shorter than normal to ensure a snug fit - this is also key to keeping short socks in place.
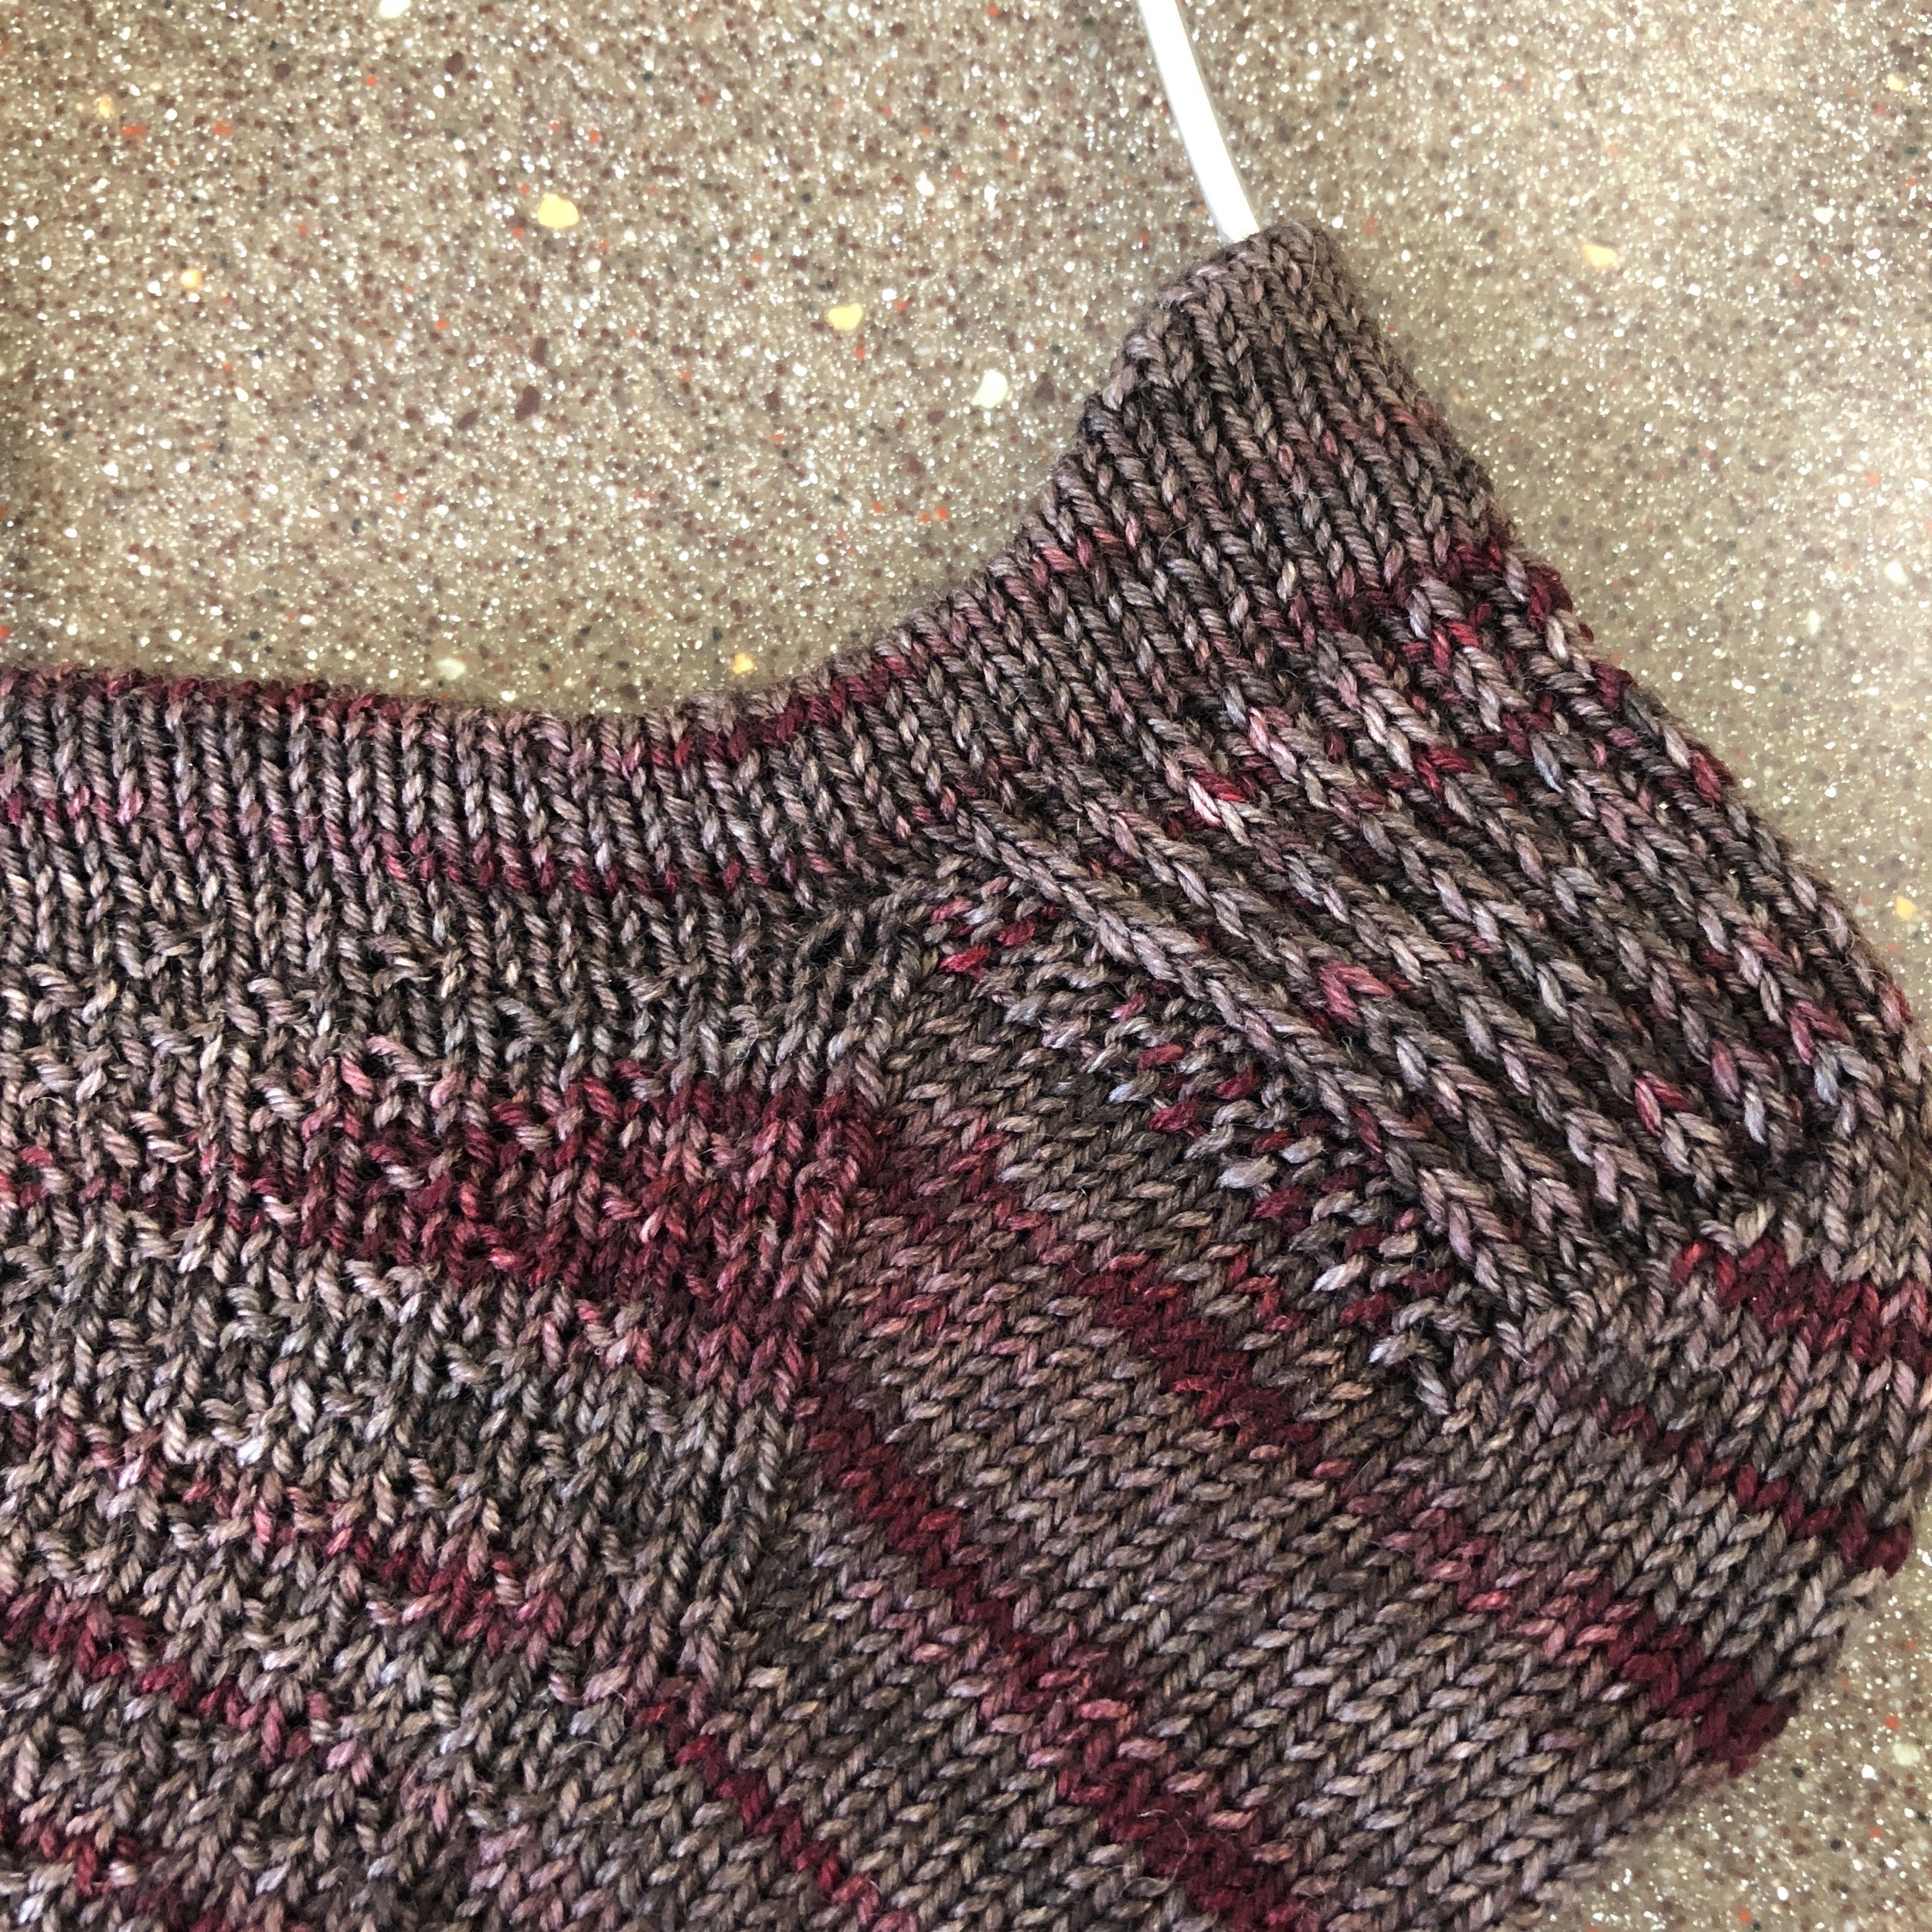
After finishing the sock, fold over the cast-on edge to flatten the heel tab and sew the hem along the inside. Here’s a great tutorial if it’s your first time. I really suggest sewing the hem rather than picking up along the edge and knitting together as you go - the seam you get will be much less bulky and more stretchy. If you want to be able to wear the sock as soon as it is finished, just sew the hem after finishing your gusset decreases (this is what I do).